Electrical & Solar Setup
When it comes to building a van conversion, your electrical and solar system is the true powerhouse of your home on wheels. It’s also one of the most important—and often most expensive—parts of the build.
For my van, I knew this wasn’t something I wanted to risk doing incorrectly, so I worked with “experienced professionals” while still doing my own research to understand how everything works. Now that I live in my van full-time, learning my electrical system has become even more important.
My Electrical System Update (Real Experience)
After initially completing my build, I ran into several issues:
My batteries weren’t holding a charge
My fridge was losing power
My water pump failed
Fuses were constantly blowing
Clearly, something wasn’t right.
That’s when I reached out to True North Custom Campers, and they immediately identified the problems in my setup. While it was frustrating to redo parts of my system, it was 100% worth it—I finally had a reliable off-grid power system I could trust.
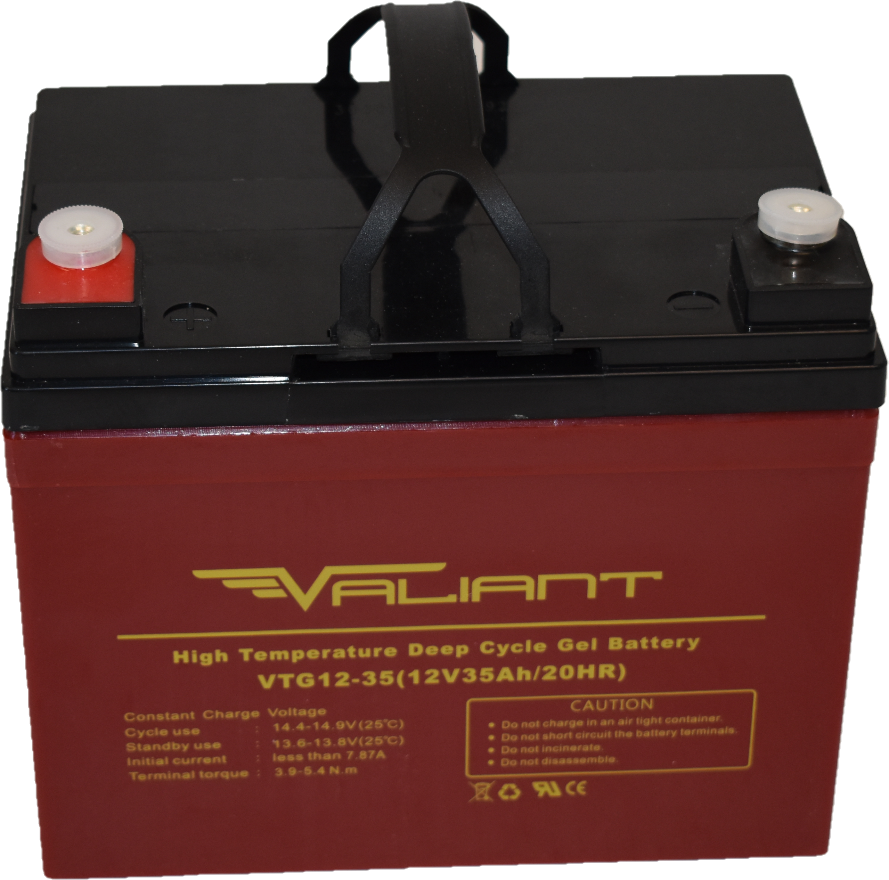
Batteries for Van Life
Your batteries store all the energy that powers your van, making them one of the most critical components.
My Original Setup
3 × MotoMaster Nautilus AGM Batteries (105Ah each)
Total Cost: $1,019.97
I originally chose three batteries because I used an induction cooktop, which requires more power than a standard van setup.
My Updated Setup
2 × 6V 220Ah Gel Batteries (Valiant VTG6-250)
Total Cost: $790
These batteries perform much better in extreme temperatures and are ideal for off-grid van life and travel across Canada.
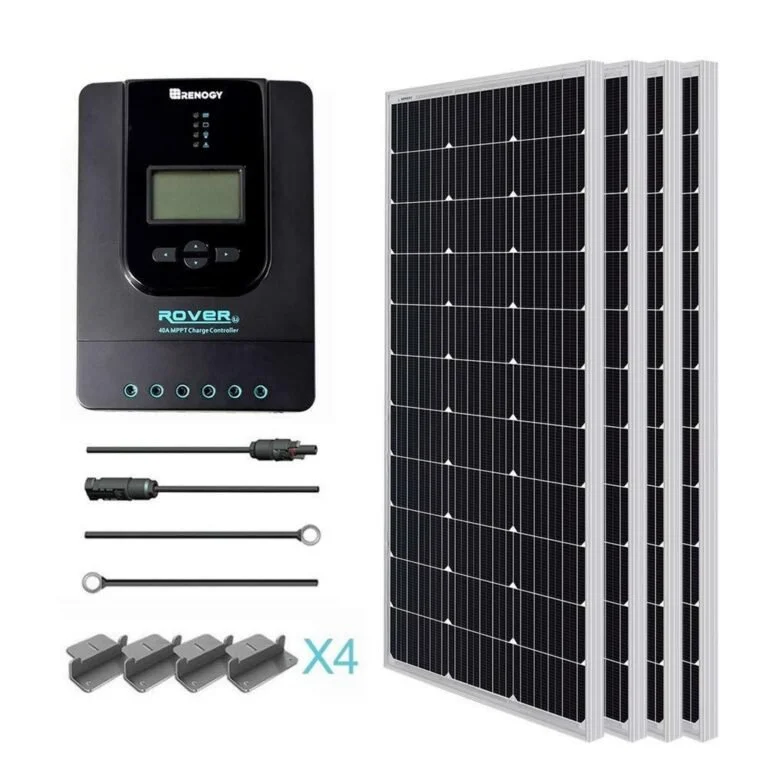
Solar Panels for Off-Grid Power
Solar panels are what keep your batteries charged while living on the road.
I chose a 400W solar setup, which is more than the typical 200W used in basic builds—but necessary for my higher power usage.
My Solar Kit Included:
100W Monocrystalline Panels (compact design)
40A MPPT Charge Controller
Mounting brackets
MC4 adaptor kit
Tray cables
Total Cost: $679.99
💡 Tip: Always consider buying a full solar kit—it simplifies installation and ensures compatibility between components.
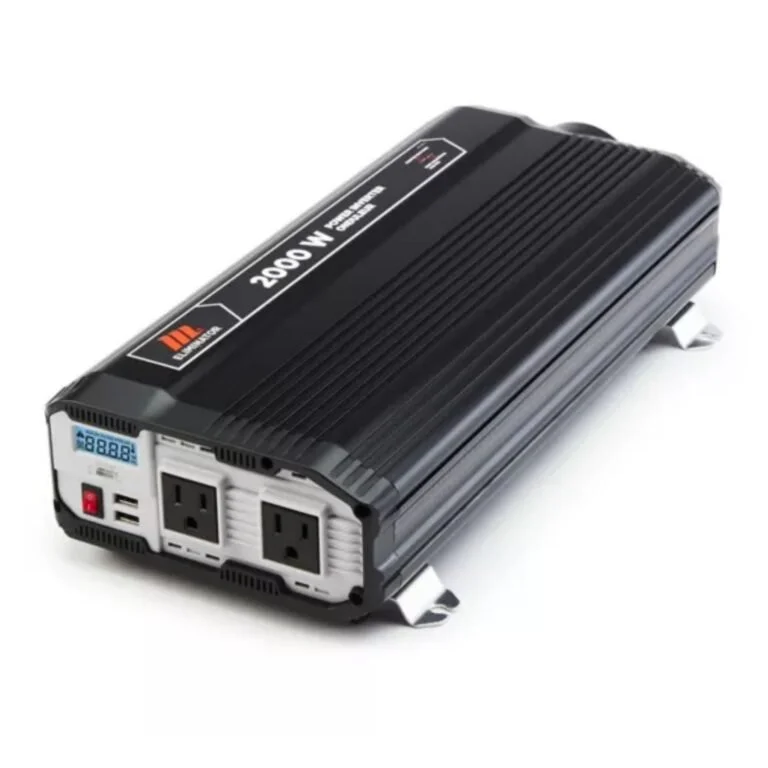
Power Inverter
Your inverter converts battery power into usable electricity for devices and appliances.
I chose a 2000W inverter to support higher power usage:
MotoMaster Eliminator 2000W Modified Sine Wave Inverter
AC outlets + USB ports included
Cost: $224.99
For most van builds, a 1500W inverter is sufficient—but if you’re running appliances like an induction cooktop, upgrading is worth it.
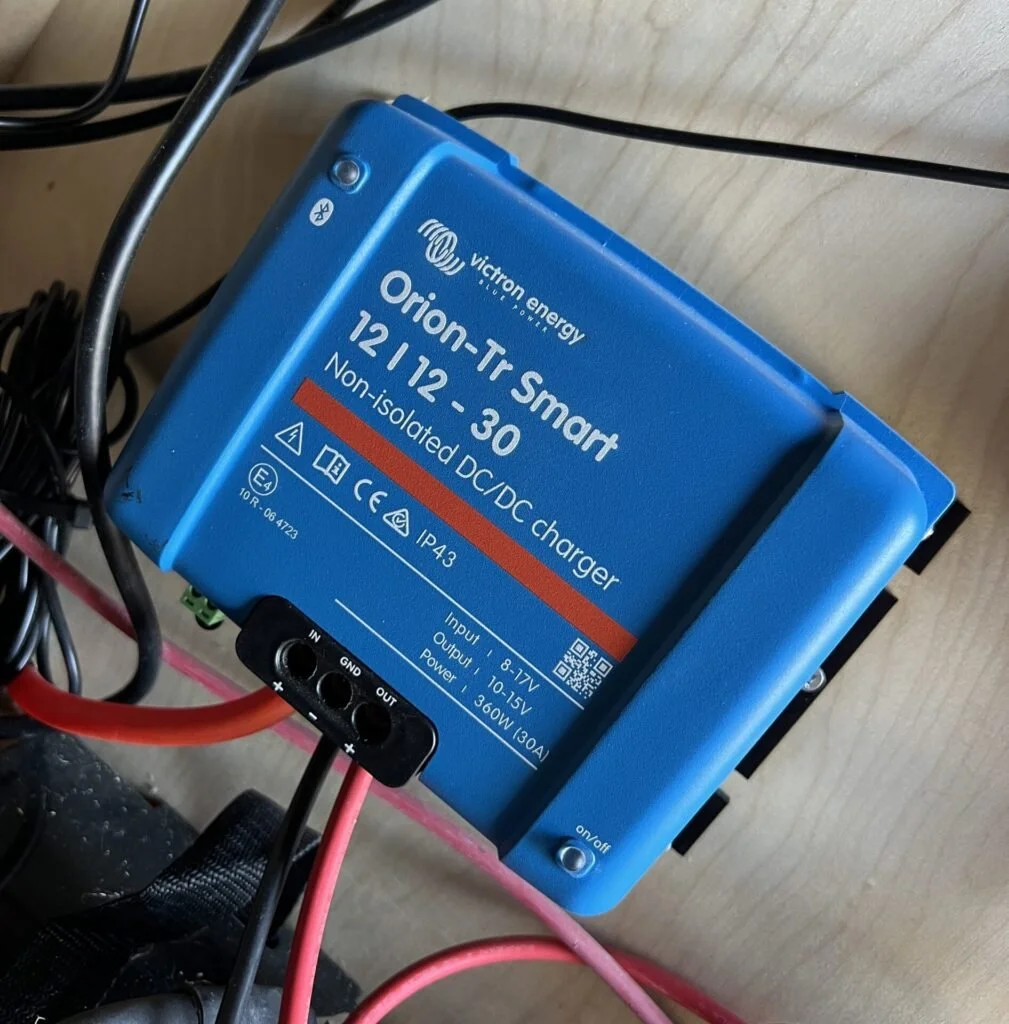
Battery Isolator & Charging Upgrades
A battery isolator allows your van to charge batteries while driving.
Original Setup
Smart 140 Amp Dual Battery Isolator
Cost: $35.78
2023 Upgrade
I upgraded to a DC-DC charger, which significantly improved charging efficiency:
Victron Energy Orion-TR Smart 12/12-30 Charger
App-enabled monitoring (huge bonus)
Cost: ~$398.99
Since installing this, my batteries charge much more effectively—even on cloudy days.
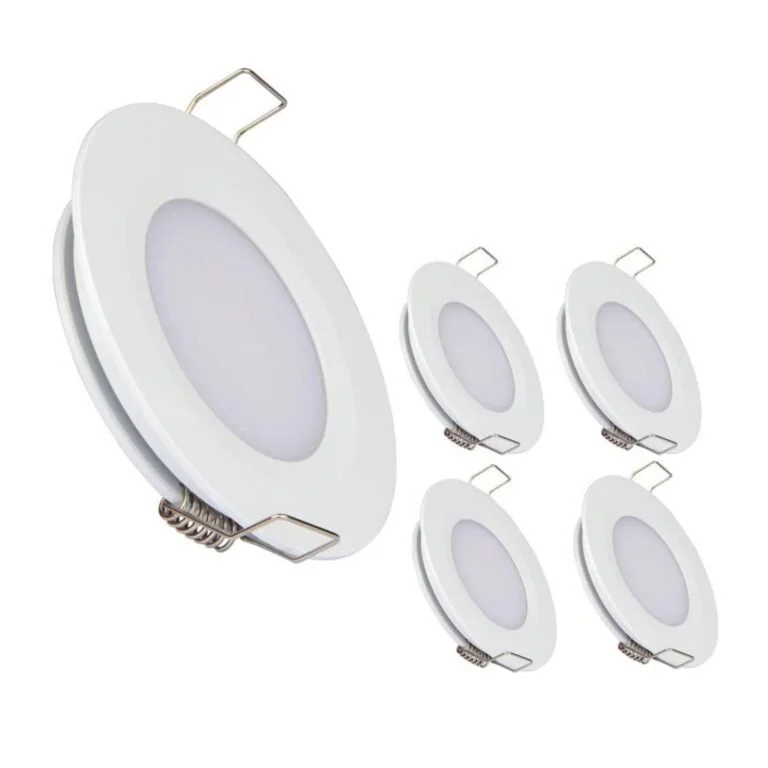
Van Lighting Setup
Lighting is where functionality meets personal style in your van build.
I installed 12V LED panel lights, which are:
Energy-efficient
Designed for RV and van use
Bright and evenly distributed
I added lighting throughout my ceiling and storage areas—honestly, you can never have too much lighting in a van.
Cost per box: $59.76
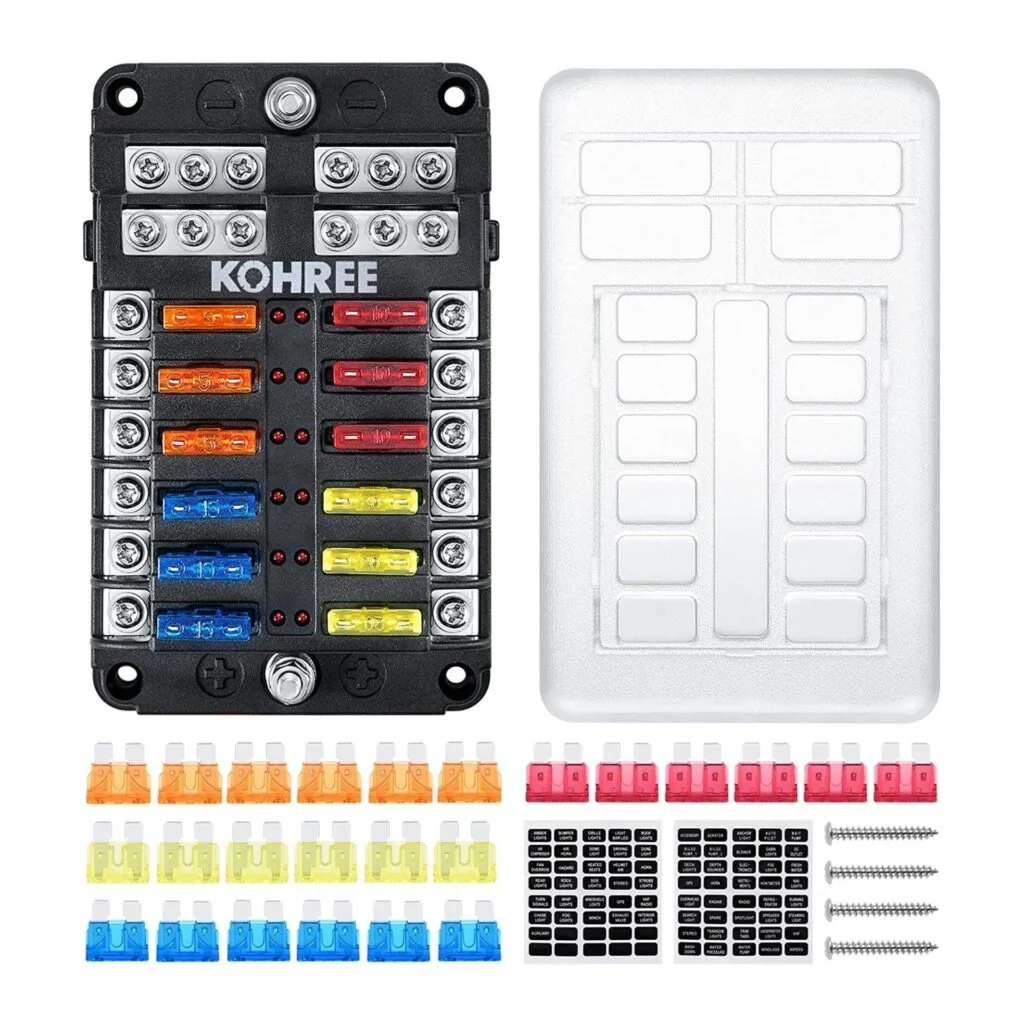
Essential Electrical Components
These smaller items are just as important for a safe and functional system:
Fuse Box
12-Way Blade Fuse Block
Central hub for all electrical connections
Cost: $33.99
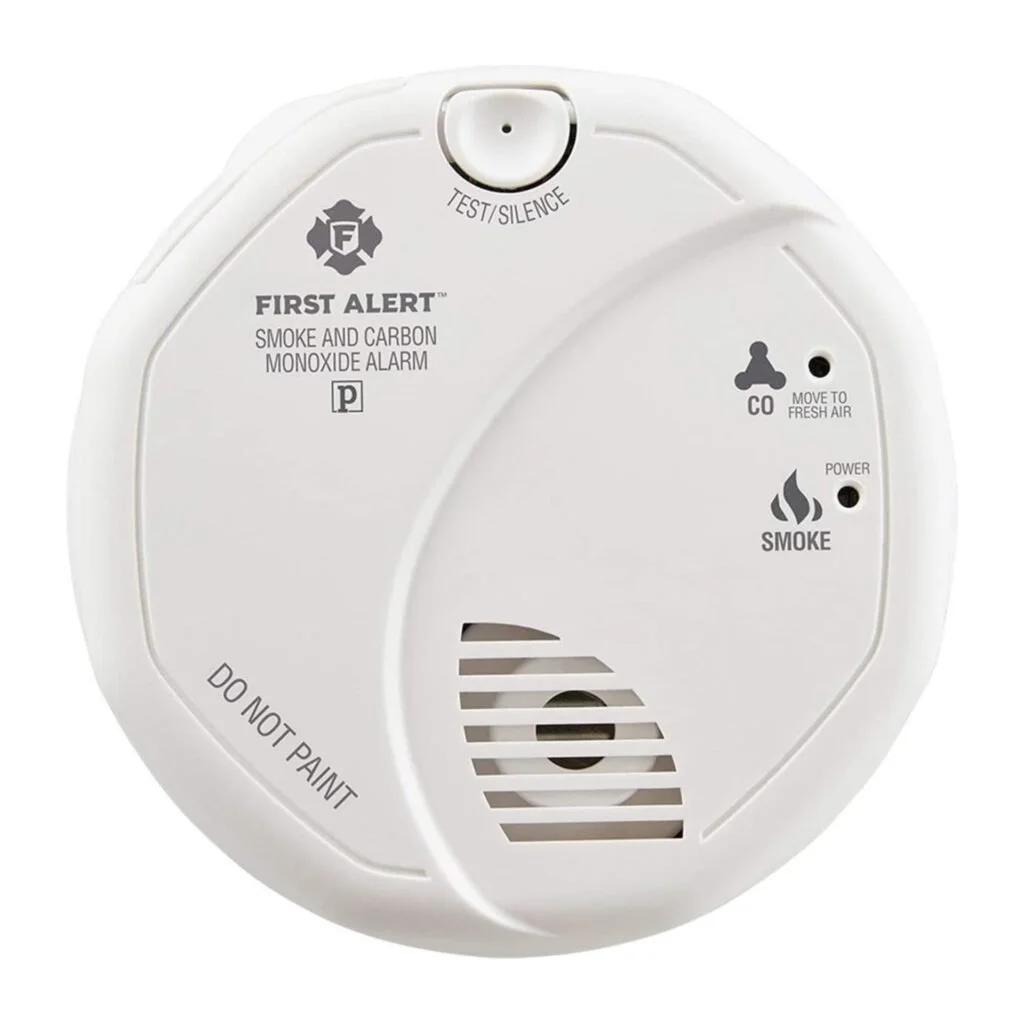
Smoke & Carbon Monoxide Detector
Battery-operated safety essential
Cost: $29.89
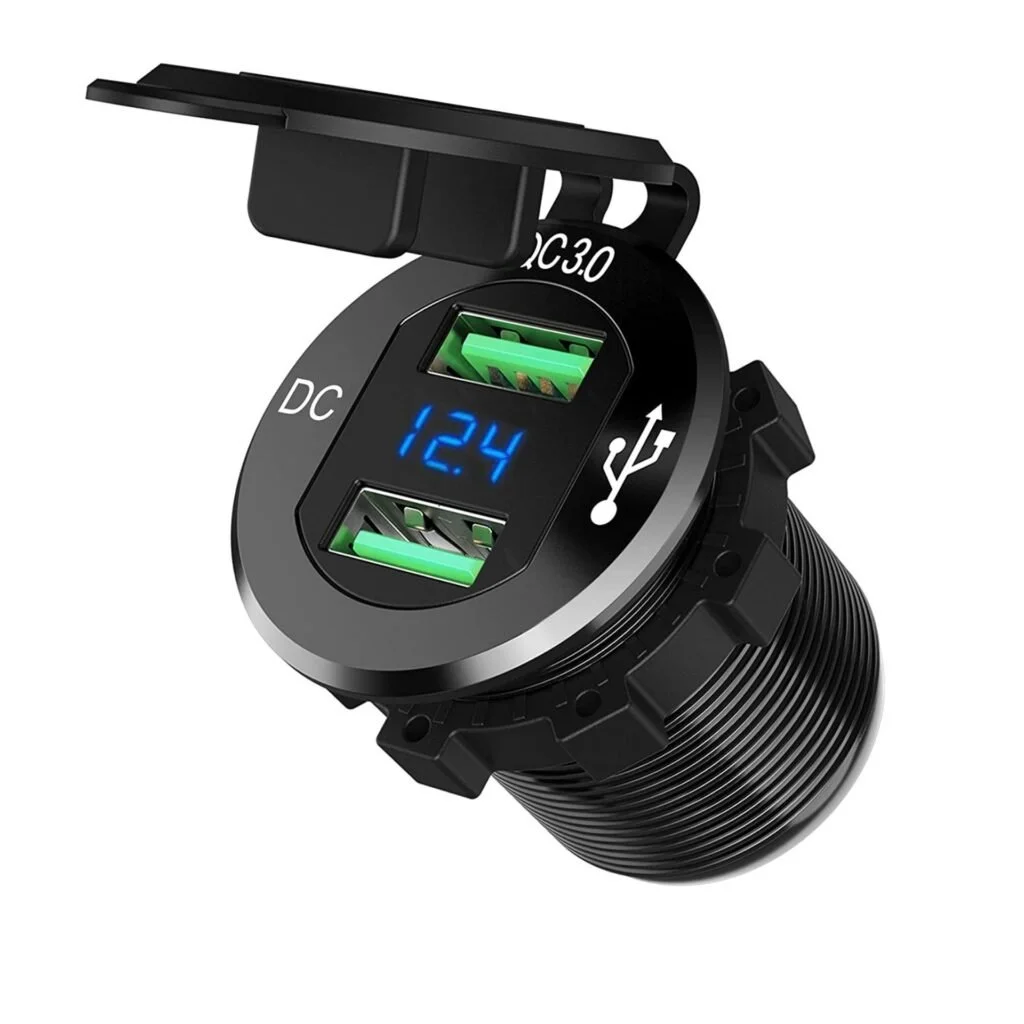
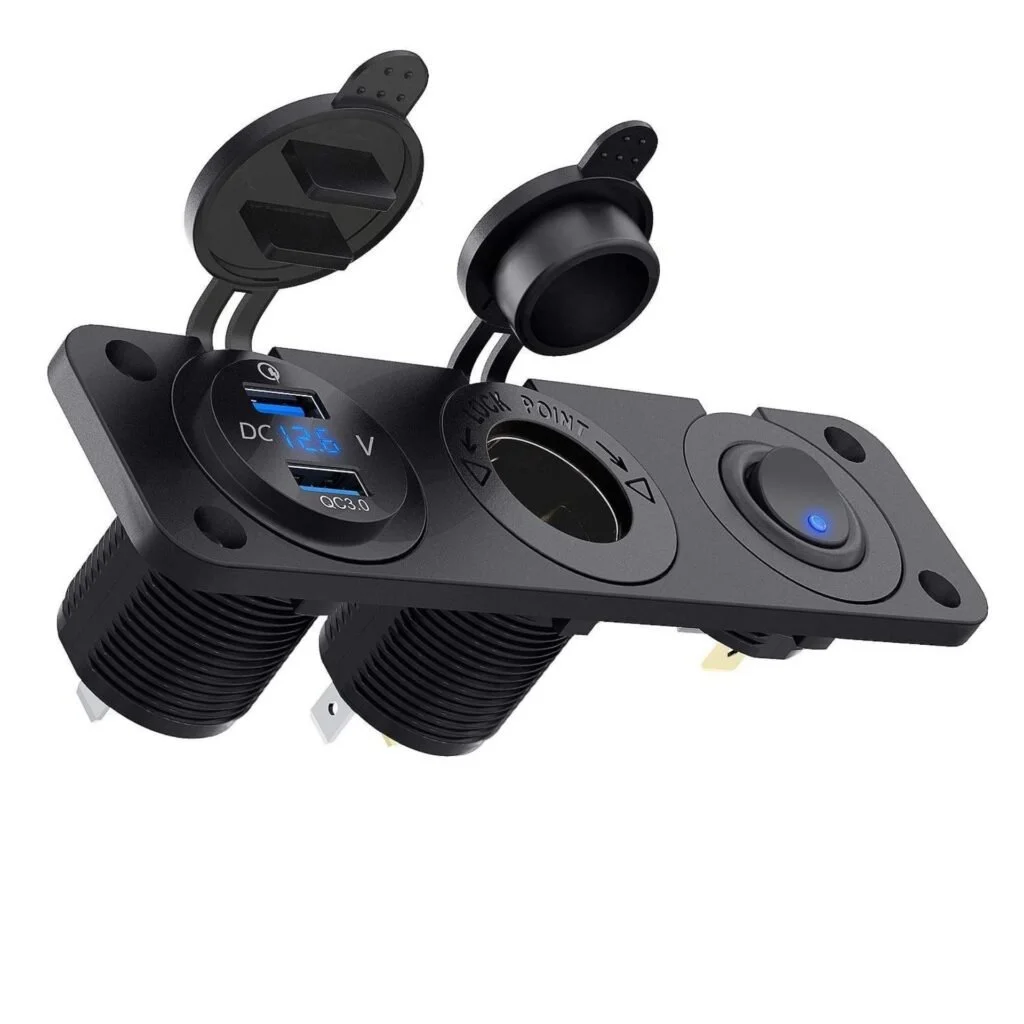
12V USB Outlets
More efficient than traditional outlets
Ideal for charging devices and camera gear
Cost: $19.89–$29.89
💡 Tip: Prioritize 12V USB outlets over standard outlets to conserve power in your van.
Final Thoughts on Van Electrical & Solar
Your electrical system is the backbone of your van life experience. Whether you’re powering essentials or running a full travel photography setup, investing in the right components makes all the difference.
My biggest advice:
Don’t cut corners on electrical
Work with professionals if needed
Plan for your actual lifestyle and power usage
A well-built system means more freedom, fewer issues, and a smoother life on the road.