Water System & Kitchen Setup: Complete DIY Van Conversion Guide
When building a van conversion, your water system and kitchen setup are essential for everyday living on the road. Whether you’re traveling full-time or on weekend adventures, having a functional, efficient water system makes van life significantly more comfortable.
In this guide, I’ll walk you through my setup, what I learned, and what I would do differently.
Choosing Your Water Storage
The first step in building a van life water system is deciding how much water you want to carry.
For a basic setup, you’ll need:
Clean water tank (fresh water)
Dirty water tank (grey water)
My Original Setup
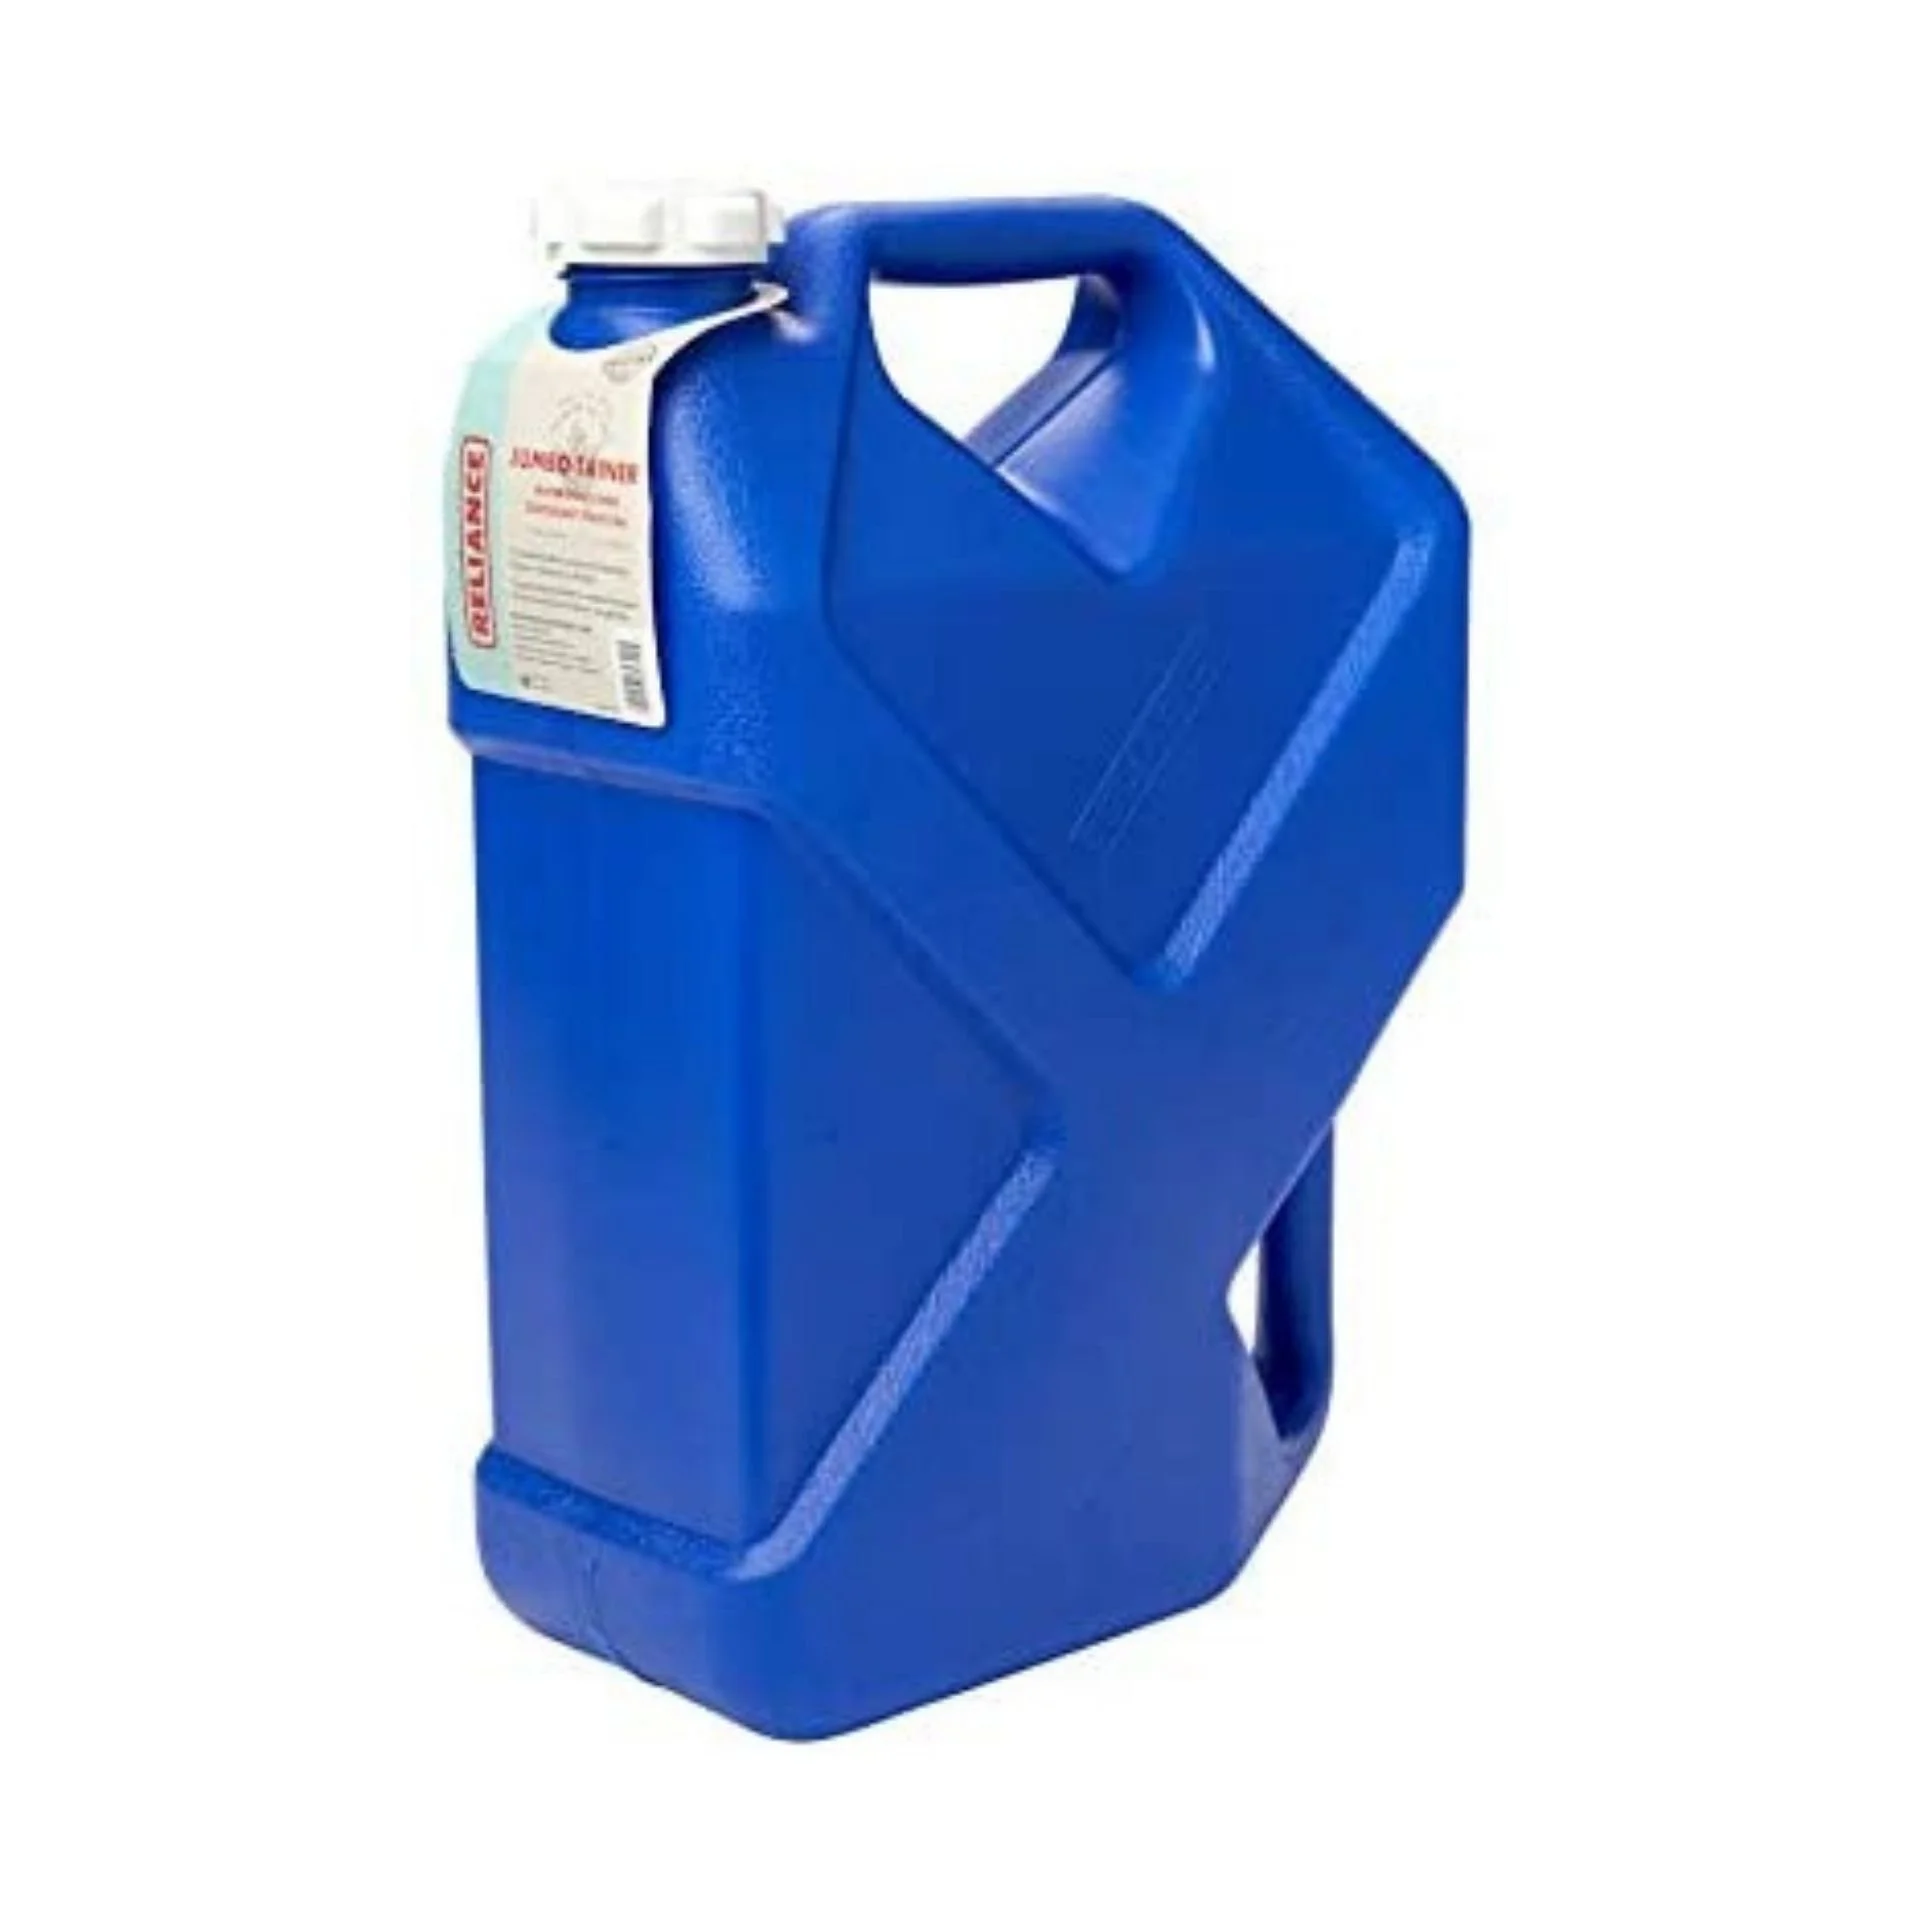
2 X 7 Gallon Reliance Jumbo-Tainer (clean water)
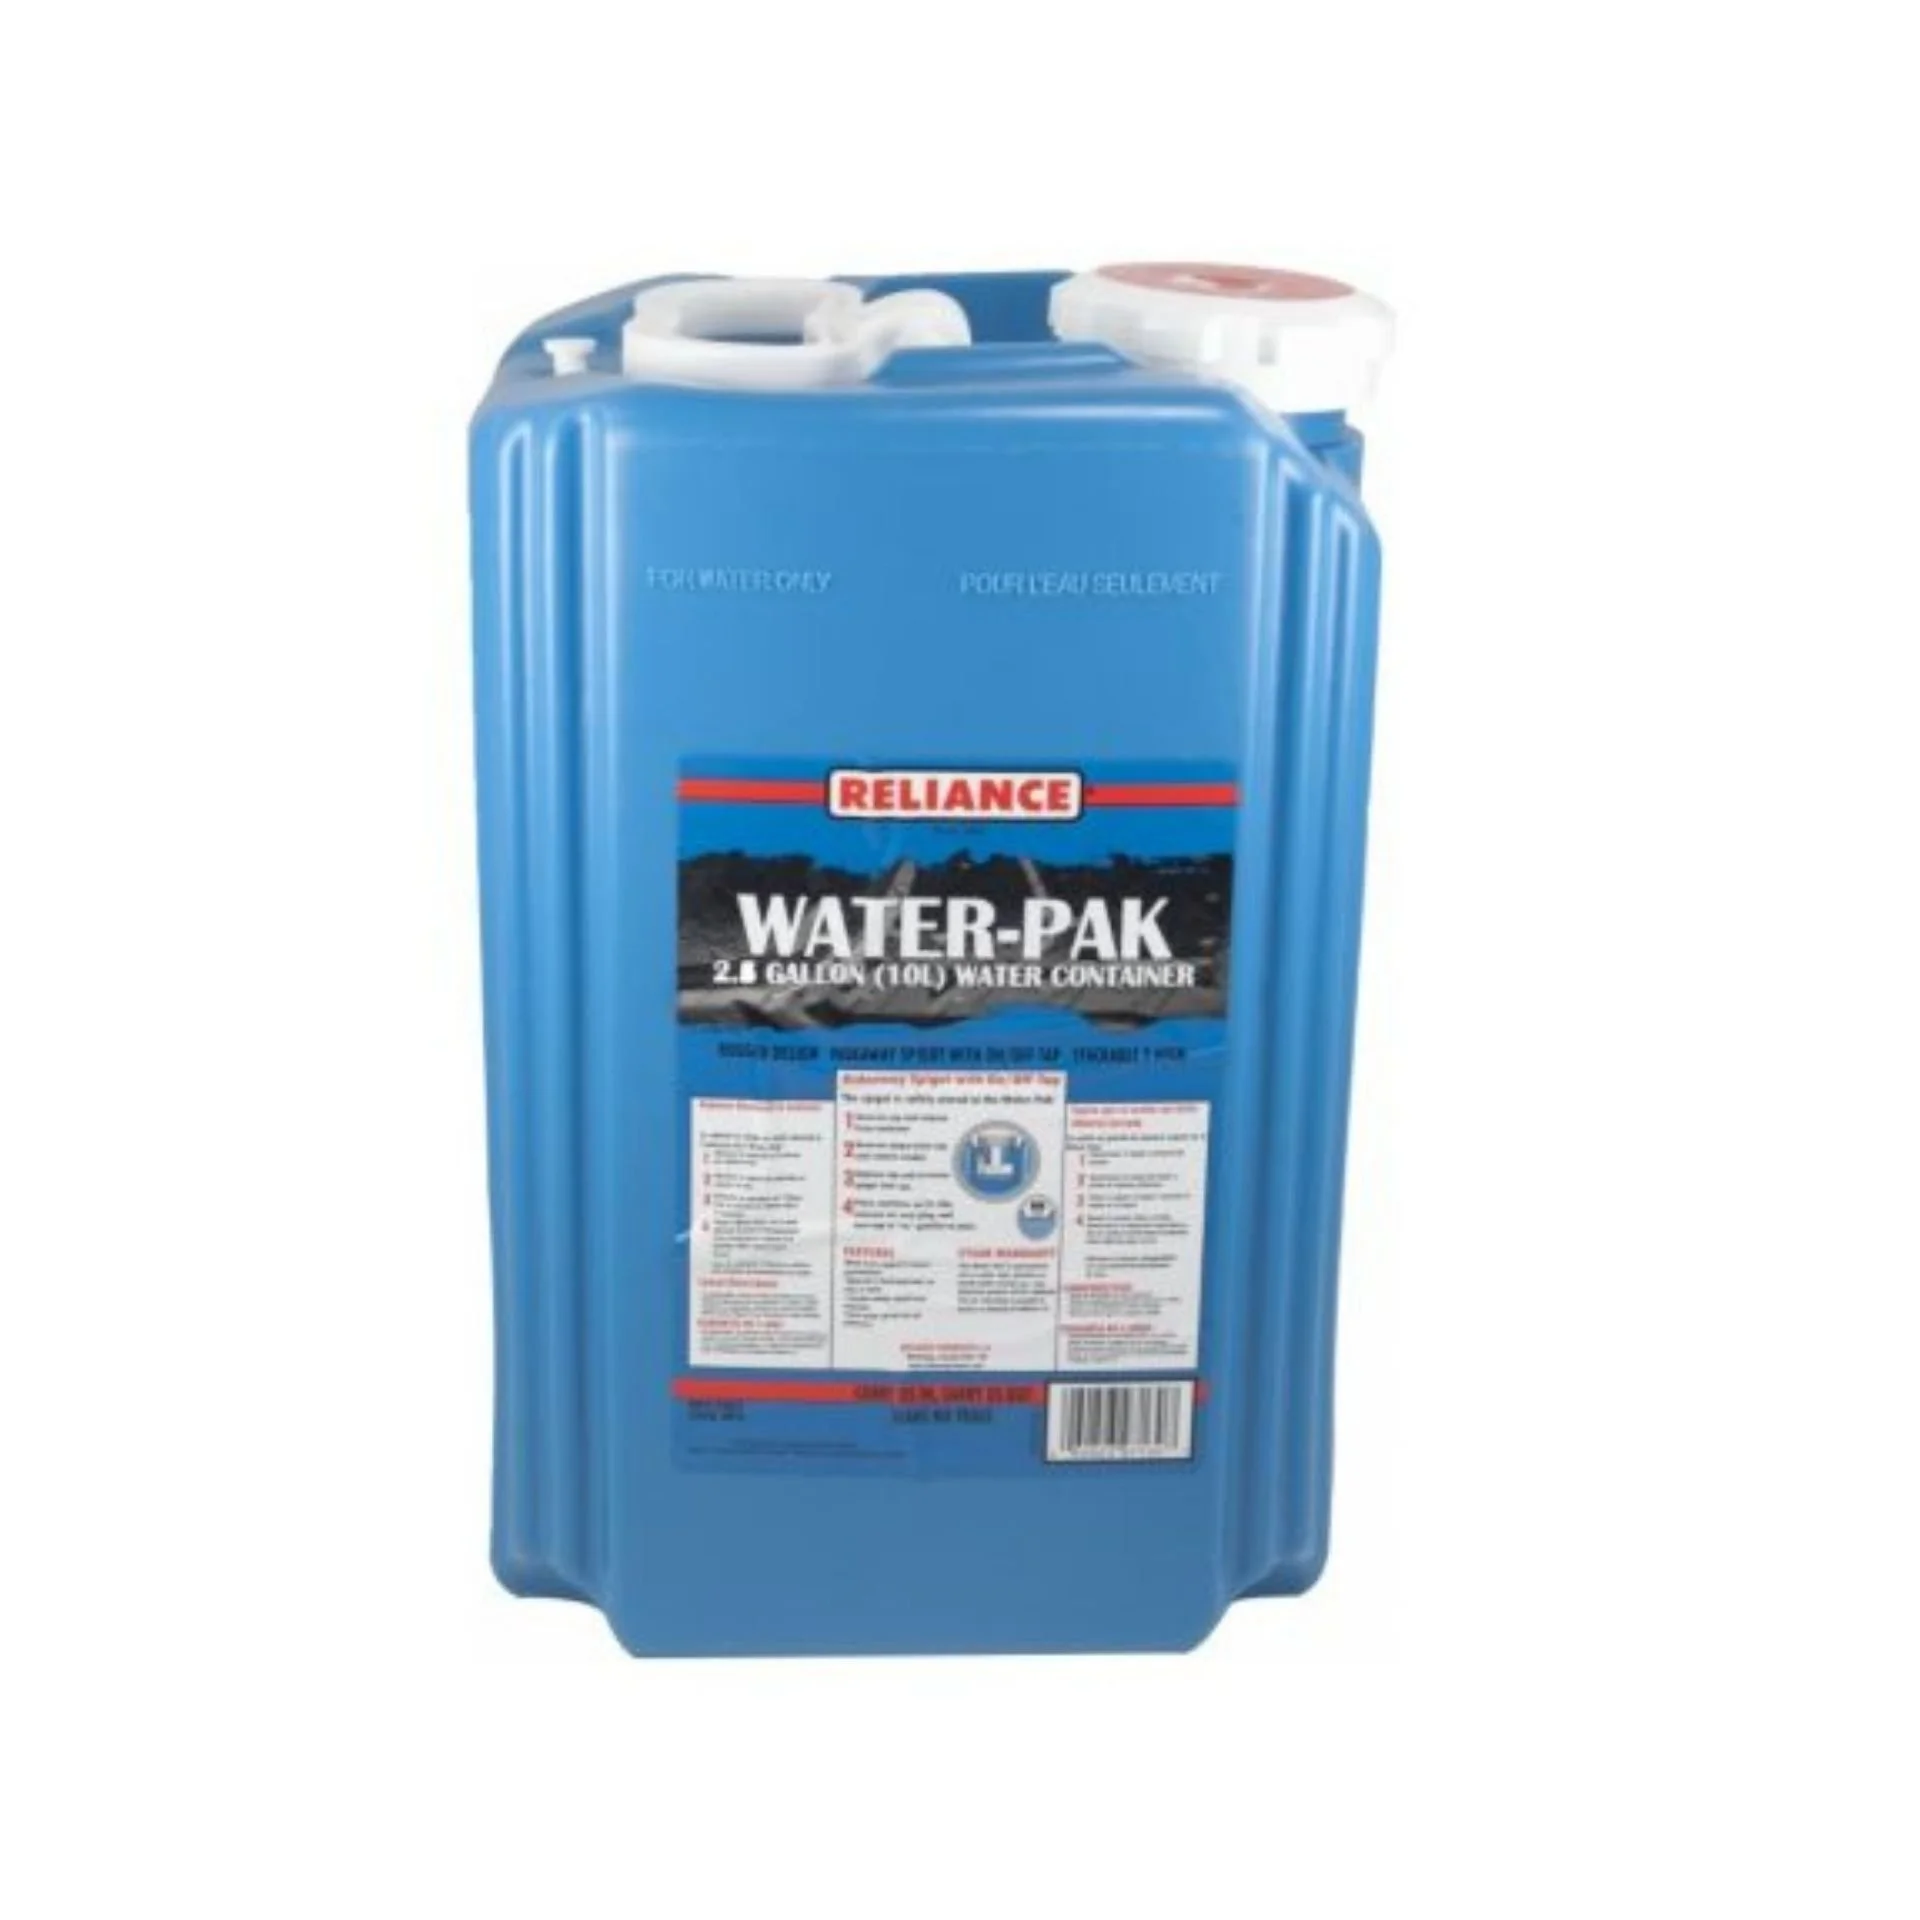
2.5 Gallon Reliance Water-Pak (grey water)
I recommend using equal-sized tanks—something I didn’t do. My smaller grey water tank meant I had to constantly monitor it to avoid overflow back into the sink.
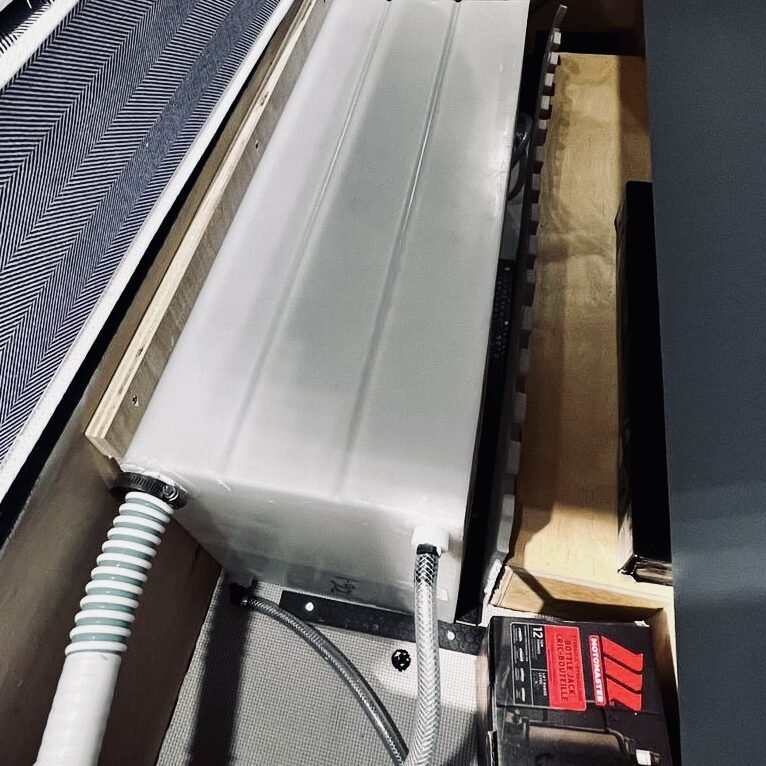
My Water System Upgrade
(Game-Changer)
After traveling across Canada, I realized the jug system wasn’t practical for my layout. In early 2023, I upgraded to an 85L built-in water tank, installed by True North Custom Campers—and it completely changed my van life experience.
Why this upgrade was worth it:
Easy refill with a hose from the back of the van
Lasts 2–2.5 weeks depending on usage
No more lifting or swapping jugs in side a grocery store
If you’re planning full-time van life or extended travel, I highly recommend considering a fixed water system.
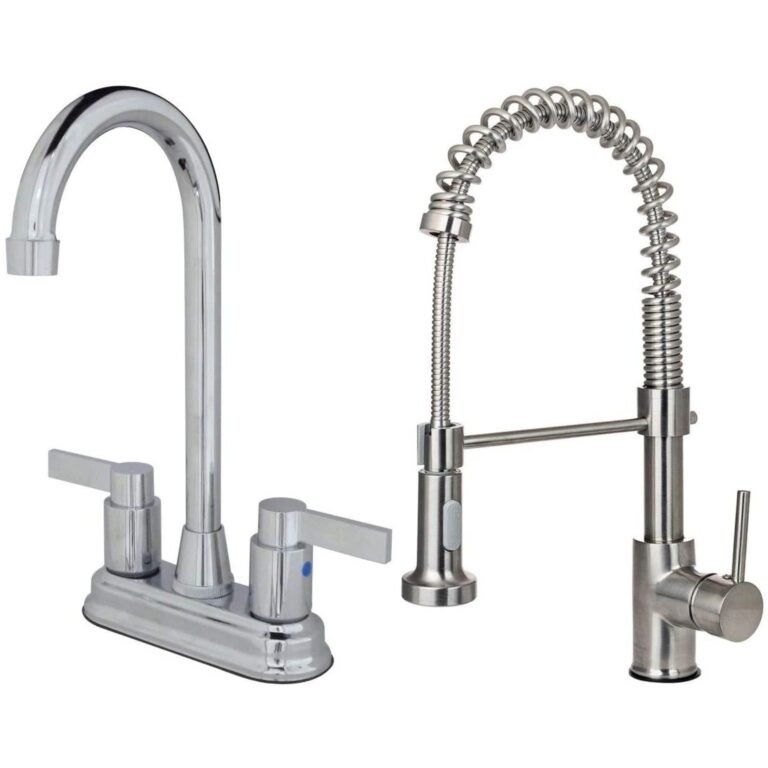
Van Sink & Faucet
Your sink and faucet setup doesn’t need to be complicated.
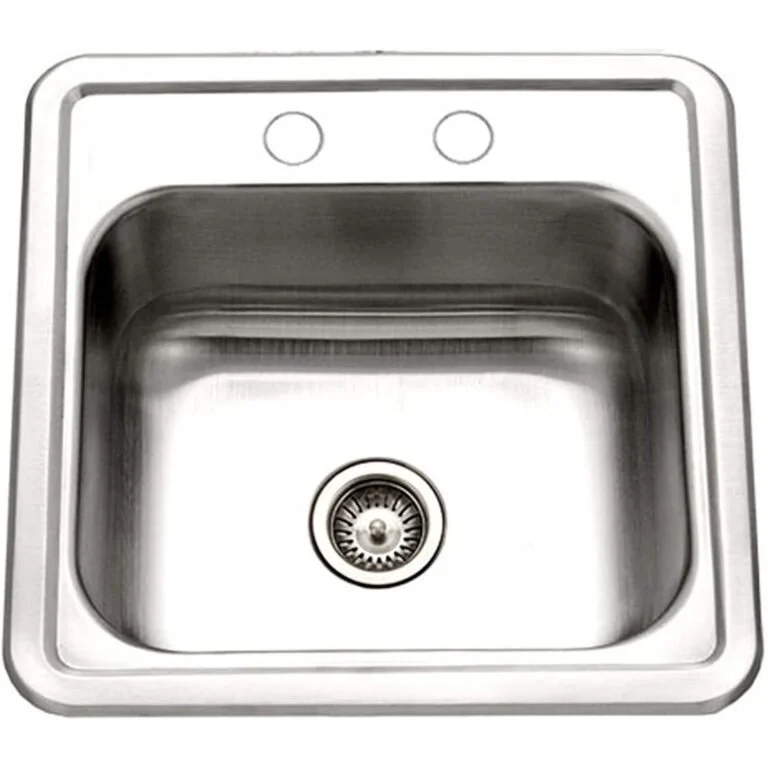
Sink
I chose a simple 15” x 15” drop-in sink, which:
Fits perfectly in a compact countertop
Provides enough space for cooking and cleaning
Faucet
There are a few styles available, but I kept mine simple and functional.
That said, I’ve seen pull-down faucets in other builds, which offer more flexibility—something I’d consider in the future for both kitchen use and cleaning gear.
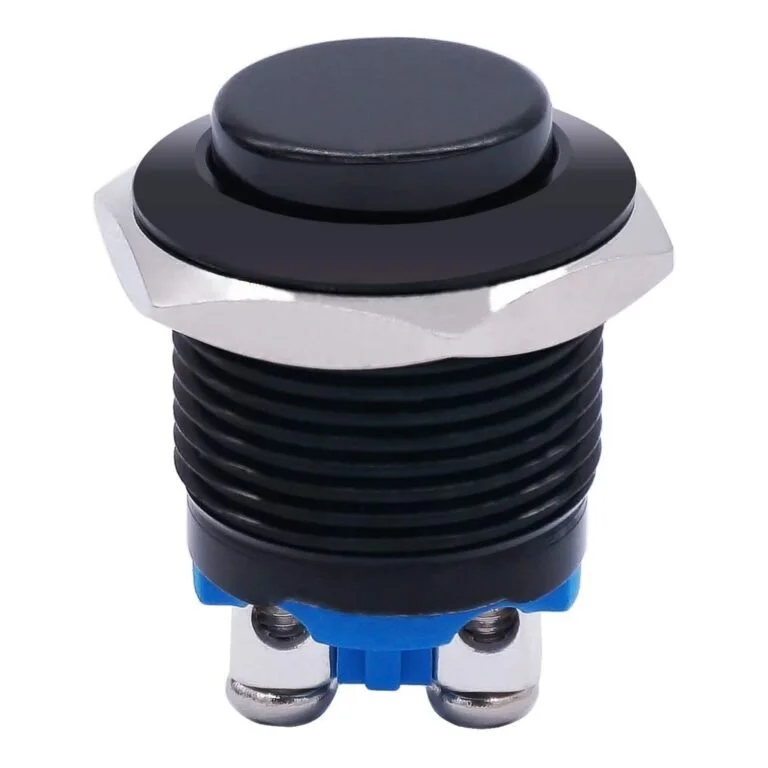
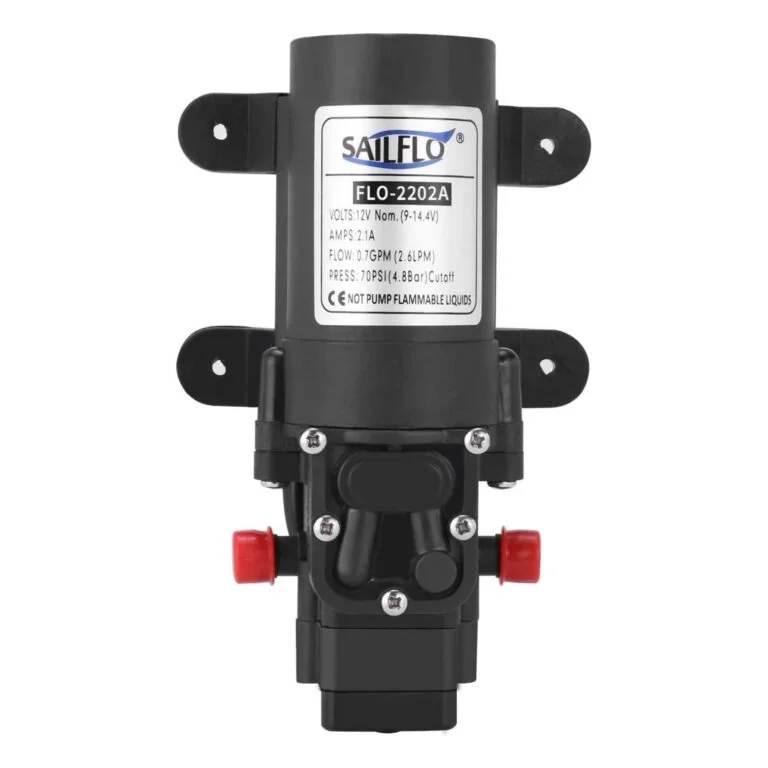
Water Pump & Switch
To move water from your tank to your faucet, you’ll need a 12V water pump.
My Setup Includes:
12V Water Pump (standard for van conversions)
Push-button switch mounted beside the sink
Some people opt for a foot pump, but I preferred a simple electric switch for ease of use.
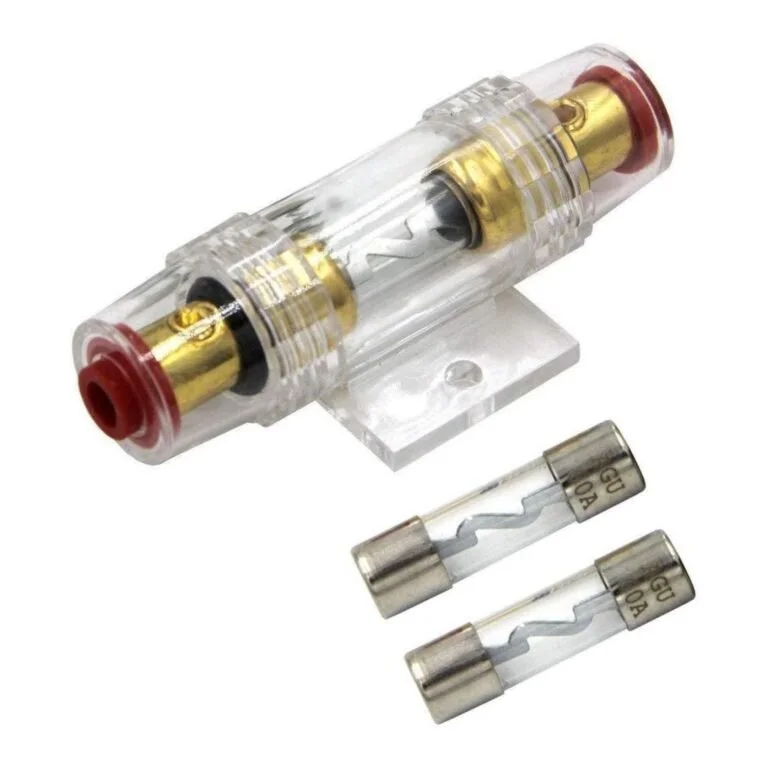
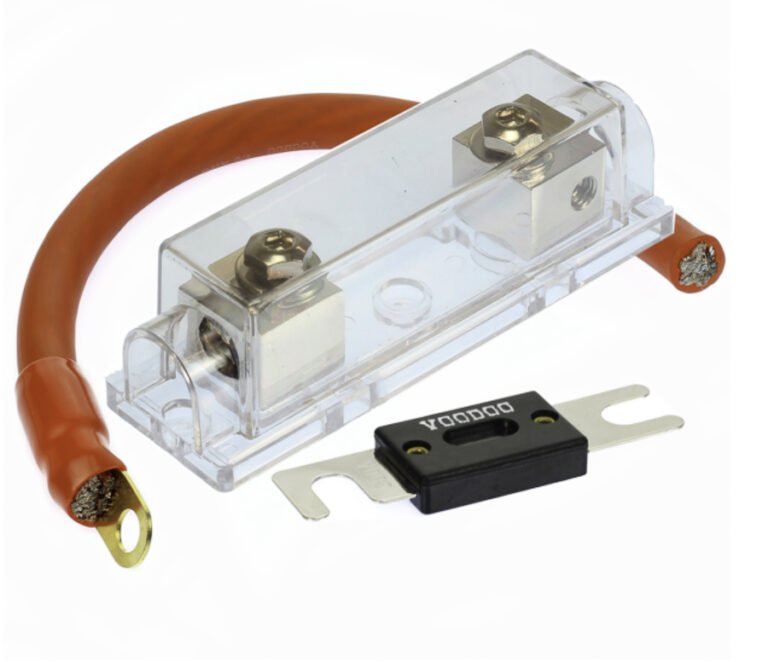
Fuses & Electrical Components
Like all powered systems in your van, your water setup requires proper electrical protection.
Waterproof fuse holder
Upgraded to a 400 amp fuse (from 60 amp) to support my system
💡 Tip: Always ensure your fuse matches your system’s power demands to avoid failures.
Choosing the Right Fridge for Van Life
Your fridge is one of the biggest decisions in your van kitchen setup—and one of the largest power draws.
Key Options:
1. 12V Fridge (Best for Van Life)
Energy efficient
Designed for off-grid use
Higher upfront cost
2. 110V Mini Fridge
More affordable
Requires more power (larger solar/battery setup)
3. Cooler
Budget-friendly
No power required
Less convenient for long-term travel
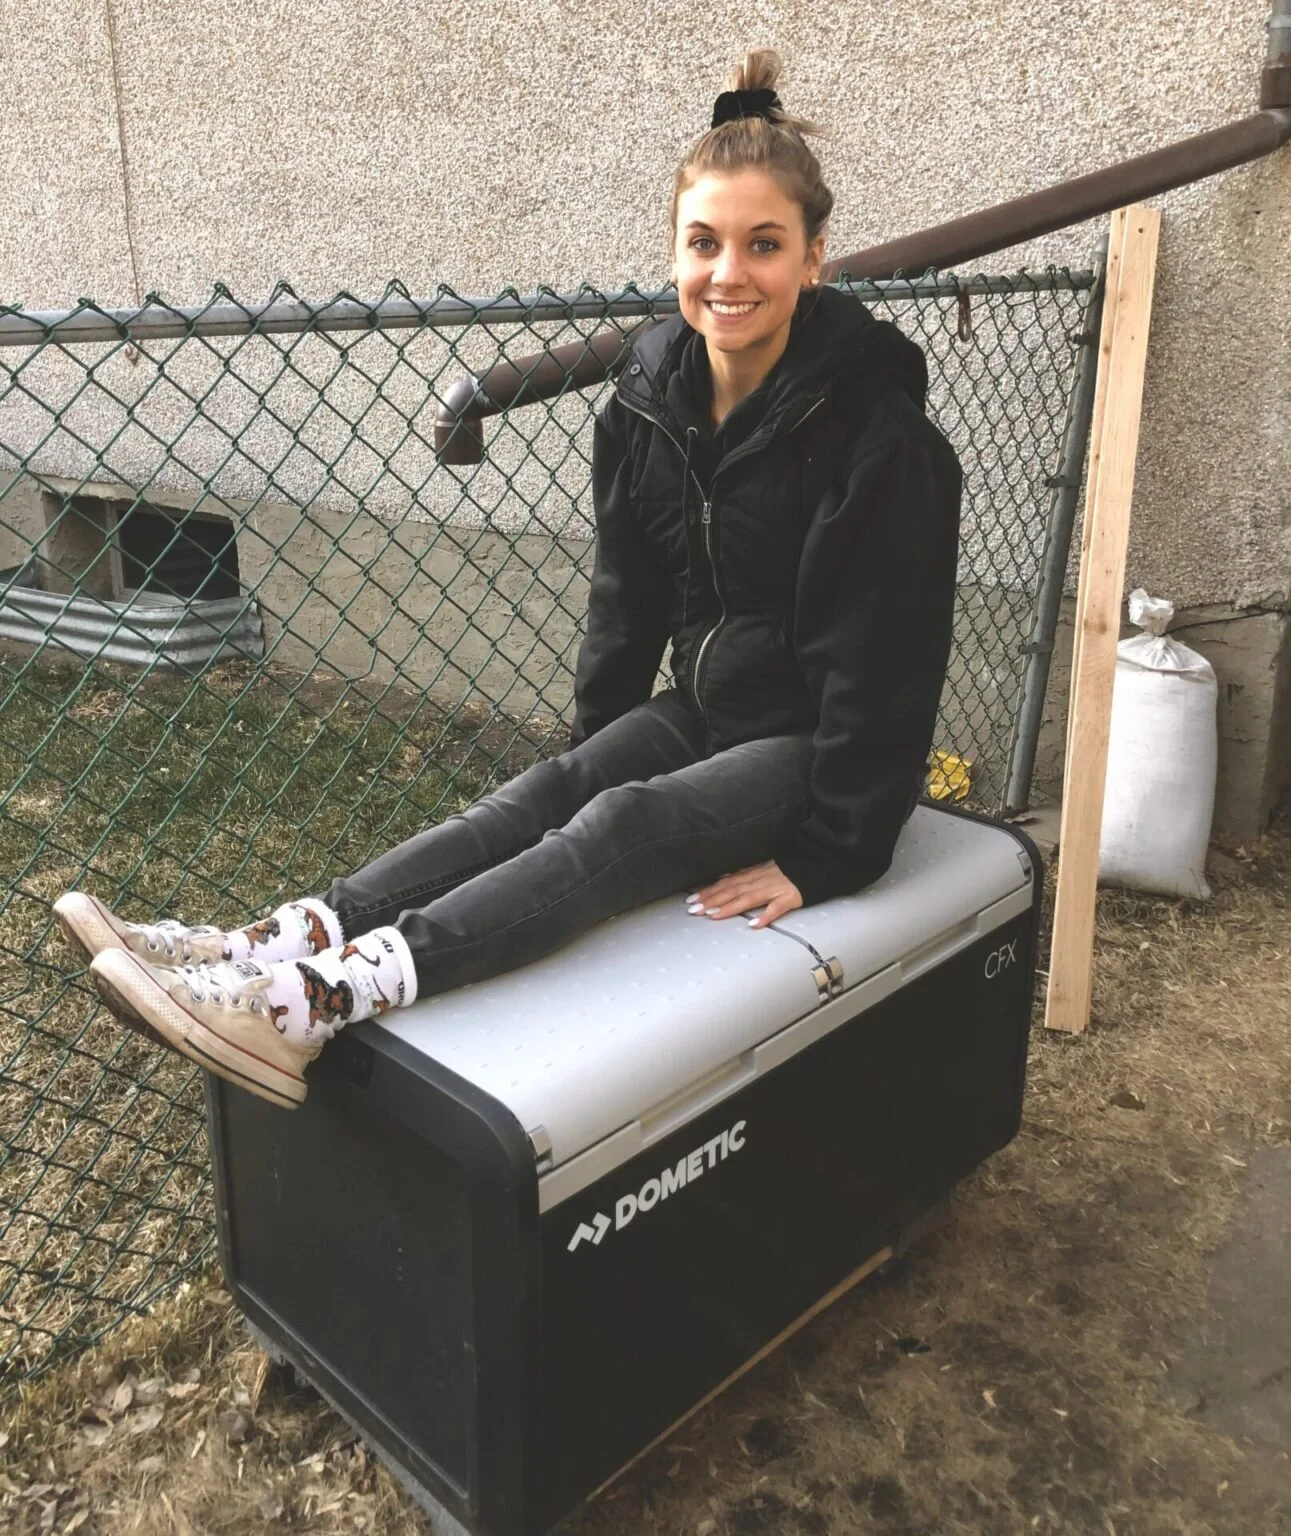
My Fridge Choice
My top priority was having a freezer for my dog’s food, so I chose a Dometic 12V fridge/freezer.
At first, the cost felt high—but after using it, I can confidently say it was worth it.
Why I love it:
Supports long-term travel (weeks on the road)
Plenty of space for both my food and my dog’s
Reliable and efficient for off-grid living
That said, it’s a large unit—so plan your layout ahead of time. I had to build around mine, which made things more challenging.
Final Thoughts on Van Water & Kitchen Systems —
Your van water system and kitchen setup should reflect your lifestyle.
Whether you go with a simple jug system or a full built-in tank, the goal is to create a setup that’s:
Functional
Efficient
Easy to maintain on the road
My biggest advice?
Plan ahead—especially for large items like your fridge and water system, there are definitely things I would change in the future!
A little extra planning will save you time, money, and headaches during your build.